
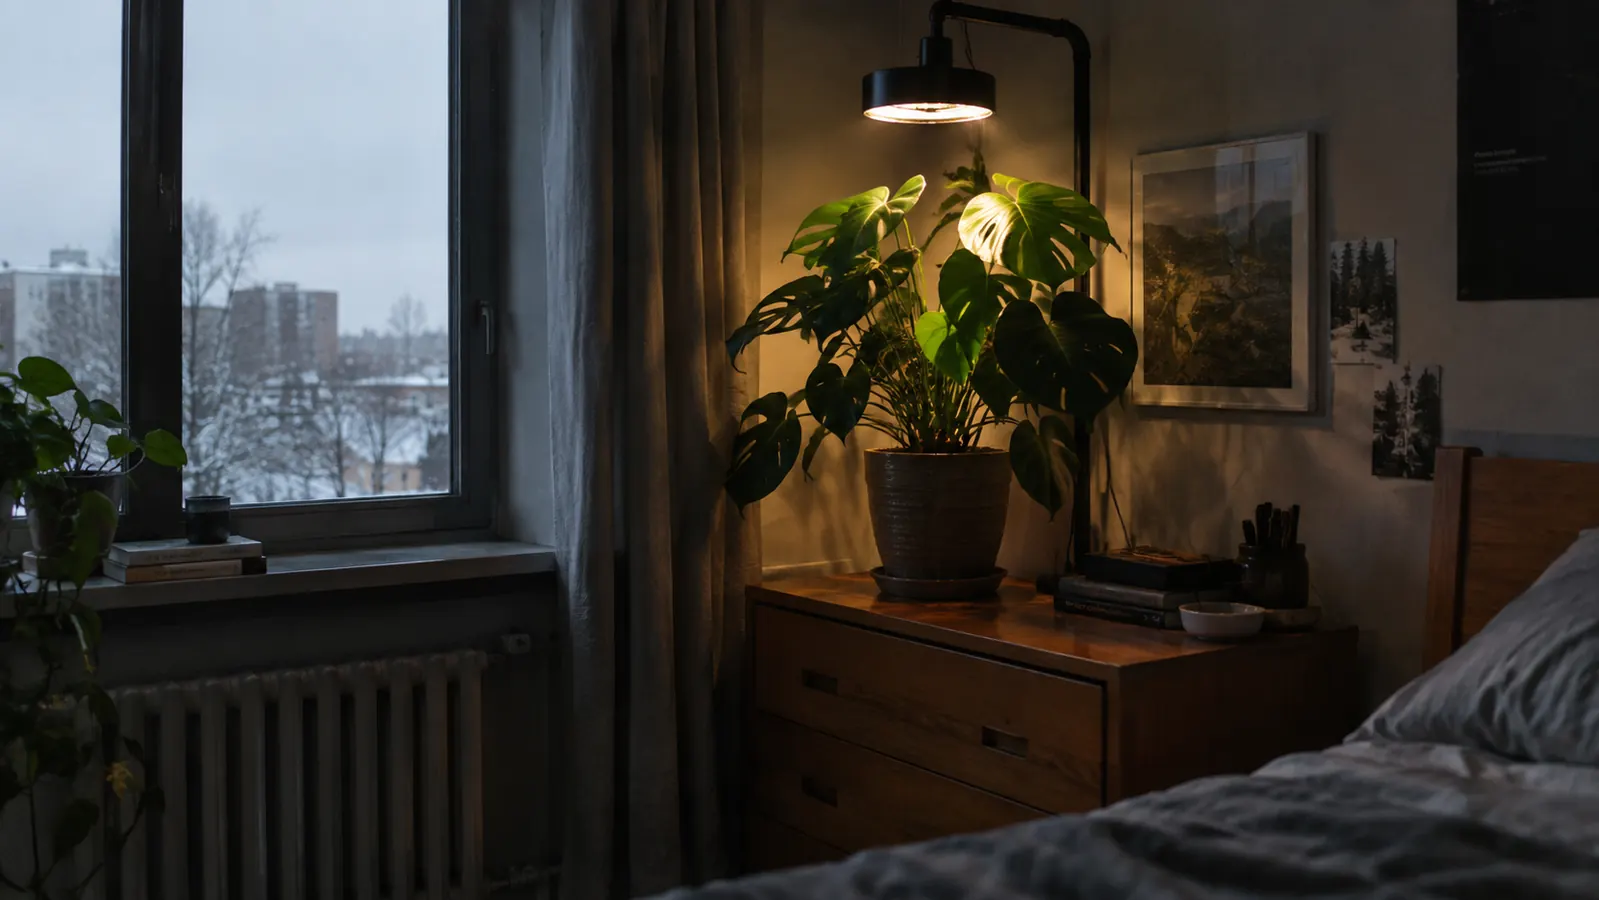
Every plant I own lives in one of two windows, and one of those windows is useless. The east window in my living room gives me direct sun until about eleven in the morning, and that is where my fiddle leaf fig Gus has sat for nine years. The bedroom window faces north. It gets light, but never direct sun, and in Portland from November through February it barely gets light at all. That is where the trouble starts. Plants in that room do not die quickly. They stretch toward the glass, the stems get long and bare, and a lower leaf drops every couple of weeks. You tell yourself it is normal, and then one morning the plant is half bald and you are reading grow light reviews at six in the morning. That was me two winters ago, and the light that finally stopped it was the GooingTop grow light.
The first thing I tried was a cheap red and blue bulb screwed into a desk lamp. It worked about as well as you would expect. The plants that were already struggling kept struggling, the light was hard to look at, and my bedroom glowed like a bad science fiction set. The second thing I tried was nothing, which is to say I moved the sick plants into the living room and crowded them into the east window. That worked for about six weeks, until the plants in the back started stretching again because the front ones were hogging the sun. What I learned the hard way is that a grow light only works when it is close enough, on long enough, and bright enough, and the fixture matters less than the placement. The GooingTop I ended up with is not fancy. It is a clip on lamp with a full spectrum head and a timer, and it has been running for eight months now without a complaint. This guide is the routine I landed on, the same one I would walk a friend through at my kitchen table.
Bring a dim corner back to life in about two weeks
The GooingTop grow light clamps to a shelf, bends over the pot, and runs a timer so you do not have to remember it. It is the light that finally stopped the stretching on the north side of my apartment.
Amazon Check Today's Price on Amazon →Step 1: Find the plant that is actually light-starved
Not every sick plant needs a grow light, and the first mistake is treating them all the same. A plant that is starved for light tells you in three ways. New leaves come in smaller and further apart, so the stem looks leggy and bare. The plant leans hard toward whatever window it can see. And lower leaves yellow and drop one at a time, starting at the bottom. My string of pearls died the other way. I overwatered it because I read the shriveling pearls as thirst, when the real problem was that the plant was stretching for sun it could not reach. The extra water just rotted the roots. If you are not sure which problem you have, fix the watering first and watch for two weeks. A light-starved plant does not recover from watering, and an overwatered plant does not recover from more light.
The easiest test is the shadow test. Hold your hand a foot above the spot where the leaves actually are and look at the shadow on the leaves. If you cannot make out the shape of your fingers, the light in that spot is too weak for a plant that wants any real sun. I started using the GooingTop on a calathea that had been sulking in the north bedroom for months. Within a week, the new leaves stopped curling the moment they unfurled. I want to be honest about the calatheas, though. I have killed two of them in this apartment, and the grow light did not bring either one back. What it did was stop a third from going the same way. That distinction matters. A grow light saves a plant that is light-starved. It does not resurrect a plant that is already gone, and no amount of wattage changes that.
Step 2: Put the light closer than feels right
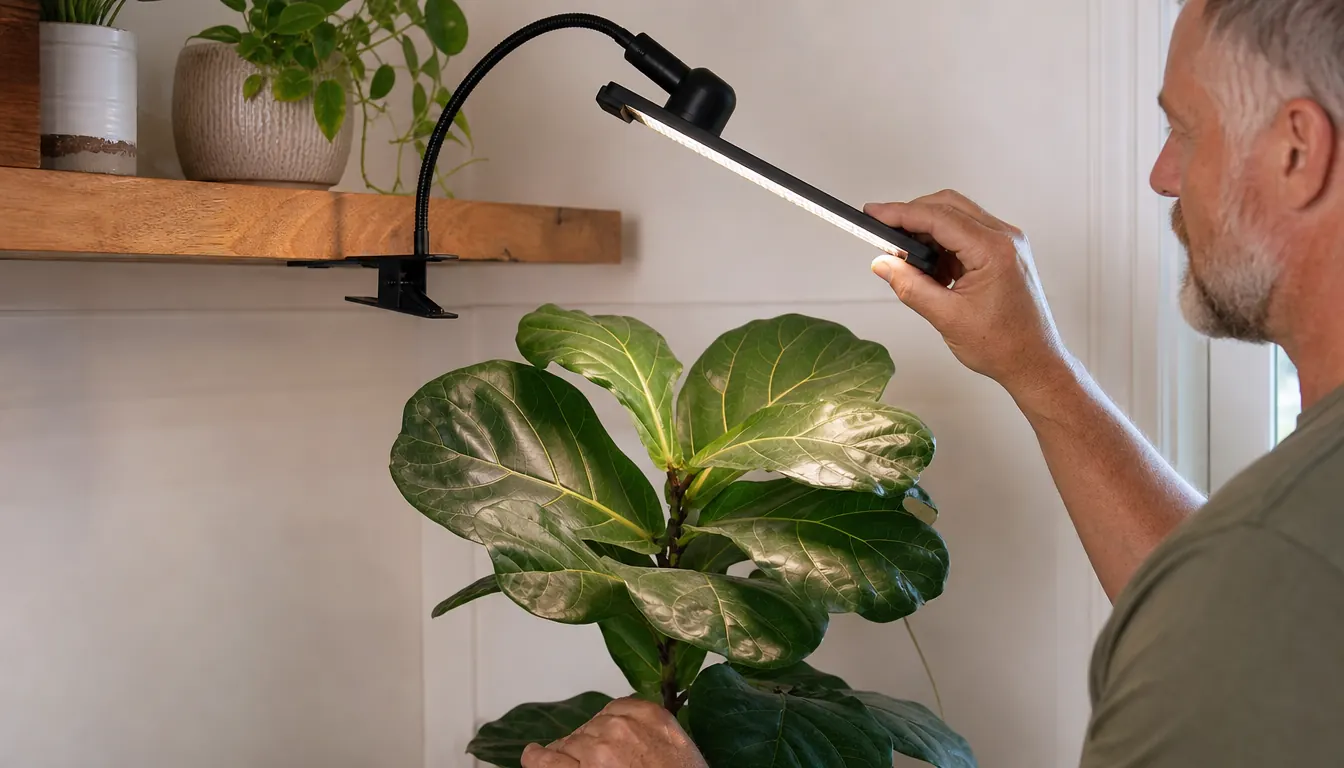
The biggest mistake people make with a grow light is putting it where it looks nice instead of where it does the work. These lights are not like a reading lamp. They do not fill a room. The useful distance is usually six to twelve inches above the top of the plant, and if you put the light two feet away because it looks better, you are basically running a nightlight. I know because I did exactly that for the first three weeks. I clamped the GooingTop to the headboard of my bed and pointed it across the room at a shelf. Nothing changed. The plants kept leaning. It was not until I read the actual specifications, which I should have done on day one, that I understood how fast the intensity drops off with distance. Now the light sits about eight inches above the plants it serves, and the difference showed up in about ten days.
The other part of positioning is the angle. I run the light at a slight tilt so the head sits directly over the middle of the plant rather than hitting it from the side. A light that comes from the side makes the plant lean toward it, which is exactly the problem we are trying to fix. The arm on this unit holds its position without drooping, which was my one worry about a flexible lamp, and it has not moved since I set it. In the bedroom I use it on a plant that sits on a low dresser, and the clamp reaches the edge of the dresser without any trouble. In the living room I use a second one clamped to a shelf above the plants that do not fit in the east window. If your plant is tall, raise the light as it grows. Otherwise you end up with a bright spot on the stem and a dark spot on the new leaves, and the plant keeps stretching past the light.
Step 3: Run it on a timer, not on a feeling
The thing that made the grow light actually work for me was the timer. I am not a person who remembers to switch a lamp off at night, and plants need the dark. They use the night hours to rest, and a plant that gets light around the clock does not grow faster, it gets confused. I run the GooingTop about twelve hours a day, from seven in the morning to seven at night, which matches the longest daylight the east window gets in summer. In the darkest months I sometimes leave it on an extra hour. The timer on this unit is a simple set of buttons, not a smart app, and that is honestly why I trust it. I set it once in October and I have not touched it since.
Before the timer, I forgot the light twice in one week. Once I left it on all night, and once I left it off for two days while the apartment was dark by four in the afternoon. The aglaonema that had started to recover dropped a leaf in that stretch. I cannot prove the missed light caused it, but the timing lined up, and I did not want to find out again. The timer on this light is not precise. It is more of an approximate twelve hours than an exact one, and that bothered me at first. After eight months, I have decided approximate is fine. Plants do not care about the minute. They care about the rhythm, and a consistent rhythm is exactly what the timer gives you. If you are the kind of person who will actually remember to switch the light on and off, you do not need the timer feature. I am not that person. The timer is the whole reason the light gets used at all.
Step 4: Give the plant a week to prove the light is working
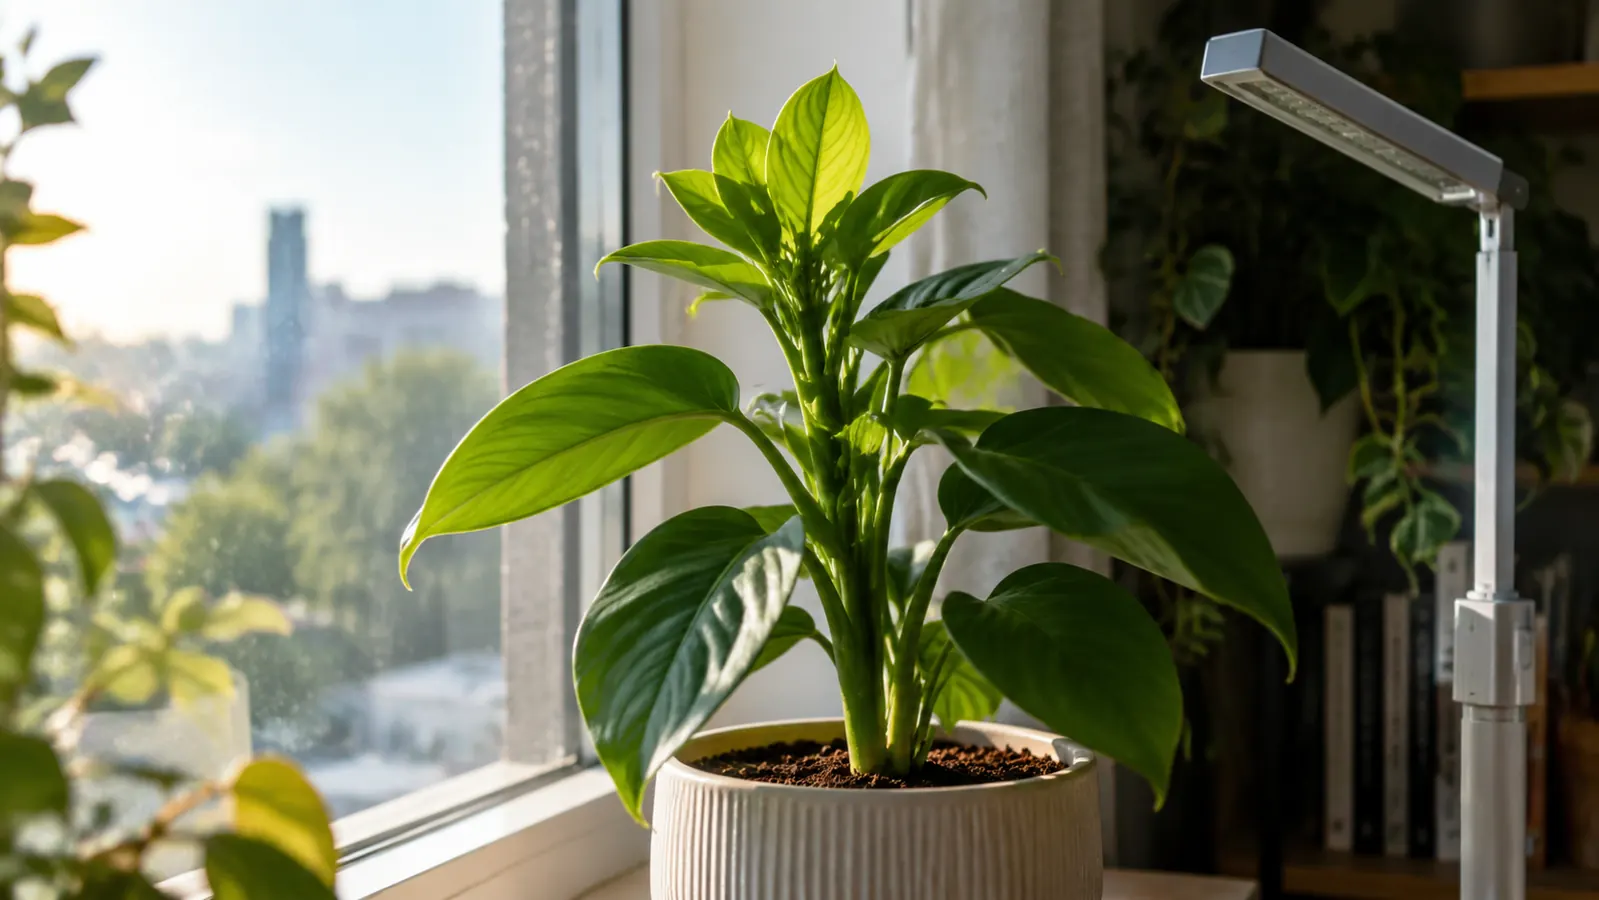
Here is the part nobody puts on the box. A grow light is not instant. You will not wake up tomorrow to a bushier plant. What you are looking for is the next new leaf and how it comes in. When I first put the GooingTop over the aglaonema in the north bedroom, the plant had one new leaf that had been stalled for weeks, pale and curled at the edge. About nine days in, that leaf finished unfurling, and the next one started about a week after that. That was the sign I was looking for. New growth that comes in greener, flatter, and closer to the leaf below it means the plant is getting enough light to actually photosynthesize instead of just hanging on.
Be patient with the timeline. It took about a month before the plant looked visibly fuller, and another month before the leggy stems had enough new growth to make me want to prune them back. The light did not fix the leaves that were already stretched. Nothing fixes those. The old leaves stay the way they are, and the plant simply grows better from the point the light started. If you want the plant to look balanced again, you either live with the bend or you prune the leggy part and let the lower nodes push new growth. I did a small prune on the aglaonema in March, and the two new stems that came up afterward are noticeably more compact. That is the real measure of whether a grow light is working. Not the old leaves. The next generation of them.
Step 5: Adjust for winter, then set the routine and stop fiddling
Portland winters are the reason I bought this light. From November to February, the sun comes up late, goes down by four thirty, and some weeks never makes a real appearance at all. The east window that carries the plants in summer gives them a few weak hours of gray light in winter, and the north bedroom is basically a closet with a window. In November I moved the most light-hungry plants into the living room and put the GooingTop over them. I also turned the light up to a brighter setting and left it on for thirteen hours instead of twelve. The plants responded by holding their leaves. They did not grow much, but they held. In a Portland winter, holding is a win.
The discipline that made the difference was picking one day to check everything and leaving it alone the rest of the week. I water on Sunday mornings because I cook most weeknights and commute by bike, so a weekday watering round never actually happens. The light check became part of that Sunday routine. I look at the new growth, I wipe the dust off the light head, I make sure the arm has not sagged, and I move on. Dust matters more than you think. A film of dust on the diodes cuts the light output, and I did not notice mine for two months. The fix is a dry cloth once a month, about thirty seconds of work. That is the whole maintenance. The GooingTop has run for eight months now, and the only thing I have done besides dusting is reset the timer once after a power outage. Set the routine, stop fiddling, and the plant will do the rest.
What Else Helps
The grow light fixed the light problem, but it will not fix a dry apartment, and mine is dry. Forced-air heat runs from October to April, and the humidity in here drops below thirty percent. That is why the first calathea died, and it is why my maidenhair fern did not survive its first winter. The light was fine and the water was fine, and the air was the problem. A cheap hygrometer will tell you where you stand, and a humidifier is the honest fix. I use a general purpose humidifier that I originally bought for winter colds, and I run it near the plants in the dry months. It was not designed for plants, and I am not going to pretend it was. It raises the humidity in this room from about twenty eight percent to about forty five percent, and the plants that struggled through two winters are holding their leaves. If you do not want a humidifier, group the plants together and set the pots on a tray of wet pebbles. It is less effective, but it is better than nothing, and it costs nothing to try.
Nine days in, the stalled leaf finished unfurling. A week later, the next one started. That was the sign the light was working.
Give your dim corner two weeks and see for yourself
The GooingTop grow light is the one that finally stopped my plants from stretching toward a window that could not help them. Clamp it close, put it on a timer, and give the plant a month. That is the whole routine.
Amazon Check Today's Price on Amazon →