
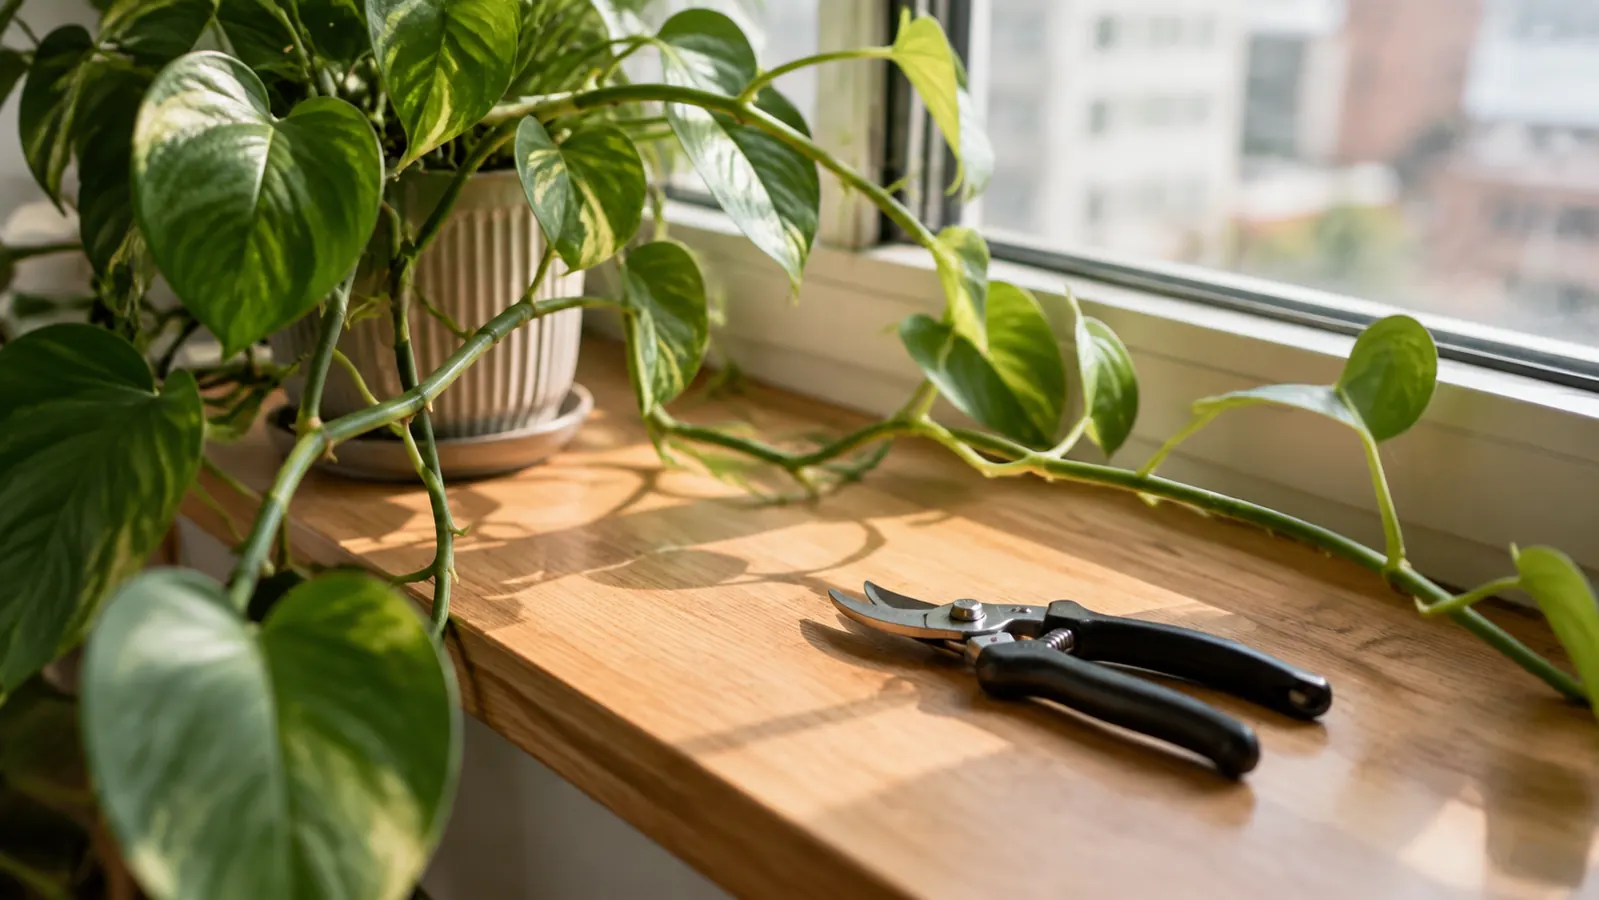
Every leggy houseplant I have owned started the same way. One window that actually works, a plant that wants more light than the room can give it, and a stem that keeps stretching out instead of filling in. Last February I finally measured the bare stretch on my fiddle leaf fig, Gus, and it was just over eight inches of naked stem between the lowest leaf and the soil. Eight inches of plant that looked like a lollipop. I had tried the usual things first. I turned the pot a quarter turn every Sunday when I watered. I moved him closer to the east window. Neither did anything, because the light in my living room only reaches that window until about 11 in the morning. What fixed it was not a better window. It was finally cutting him back with a pair of VIVOSUN curved pruning snips and letting him regrow from the nodes.
Why prune instead of adding light? Because I rent a third-floor walk-up in Portland and I am not putting a grow light in my living room. Pruning is the one fix that works with the light I already have. It sounds backwards, cutting a plant back to make it fuller, but that bare stretch does not refill on its own. The node where a leaf used to be can push a new branch, but only if the plant is not spending all its energy on one long stem. I have done this now to six of my 31 houseplants over the past two winters, and every one came back bushier than before. The snips matter more than you would think, and I will get to why in a minute.
The Snips That Finally Replaced My Kitchen Scissors
The VIVOSUN curved 6.5 inch pruner has cut through every stem I have given it for two winters, from soft trailing vines to the woody base of my fig. Curved blades slice instead of crush, the titanium coating keeps sap from sticking, and at 6.5 inches it fits an apartment drawer. Check the current price and read the reviews before you settle for anything else.
Amazon Check Today's Price on Amazon →Step 1: Figure Out What Leggy Actually Means
Leggy does not mean tall, and it does not mean a plant that dropped a few leaves after you forgot to water it. Leggy means the spaces between leaf nodes are too long. Hold the stem up and look at where the leaves attach. On a compact plant the nodes sit close together. On a stretched plant you get long runs of bare stem with a leaf here and there, and all the growth piled at the tip. Set two plants next to each other and the difference is obvious. The compact one has leaves stacked like a staircase. The leggy one looks like a green stick with a hat on it. My fig had eight inches of bare trunk before the first leaf. One of my trailing plants had stems two feet long with leaves only at the very end. That is not a watering problem. That is a light problem, and pruning is the response.
The test I use is simple. Compare the newest growth to the oldest. If every new leaf lands further from the last one than the leaf before it, the plant is reaching for light. If the growth is compact but the lower leaves are falling off, that is usually something else, often overwatering, and cutting it back will not fix that. Pruning fixes stretched stems. It does not fix a watering routine. I know the difference because I killed a string of pearls and two calatheas with my watering habits before I figured it out. Neither one was leggy. Both were rot.
Step 2: Clean the Blades Before You Cut Anything
This step sounds like fussing until you have done it once. A blade that carried a little fungus from one plant can pass it to the next plant before you see anything wrong. A dull blade is just as bad, because it does not cut a stem, it crushes it, and a crushed edge takes longer to heal and invites trouble. I keep a small bottle of rubbing alcohol and a cotton pad with my Sunday watering things. I wipe both blades, let it sit for a few seconds, and I am done. It takes less time than finding the plant.
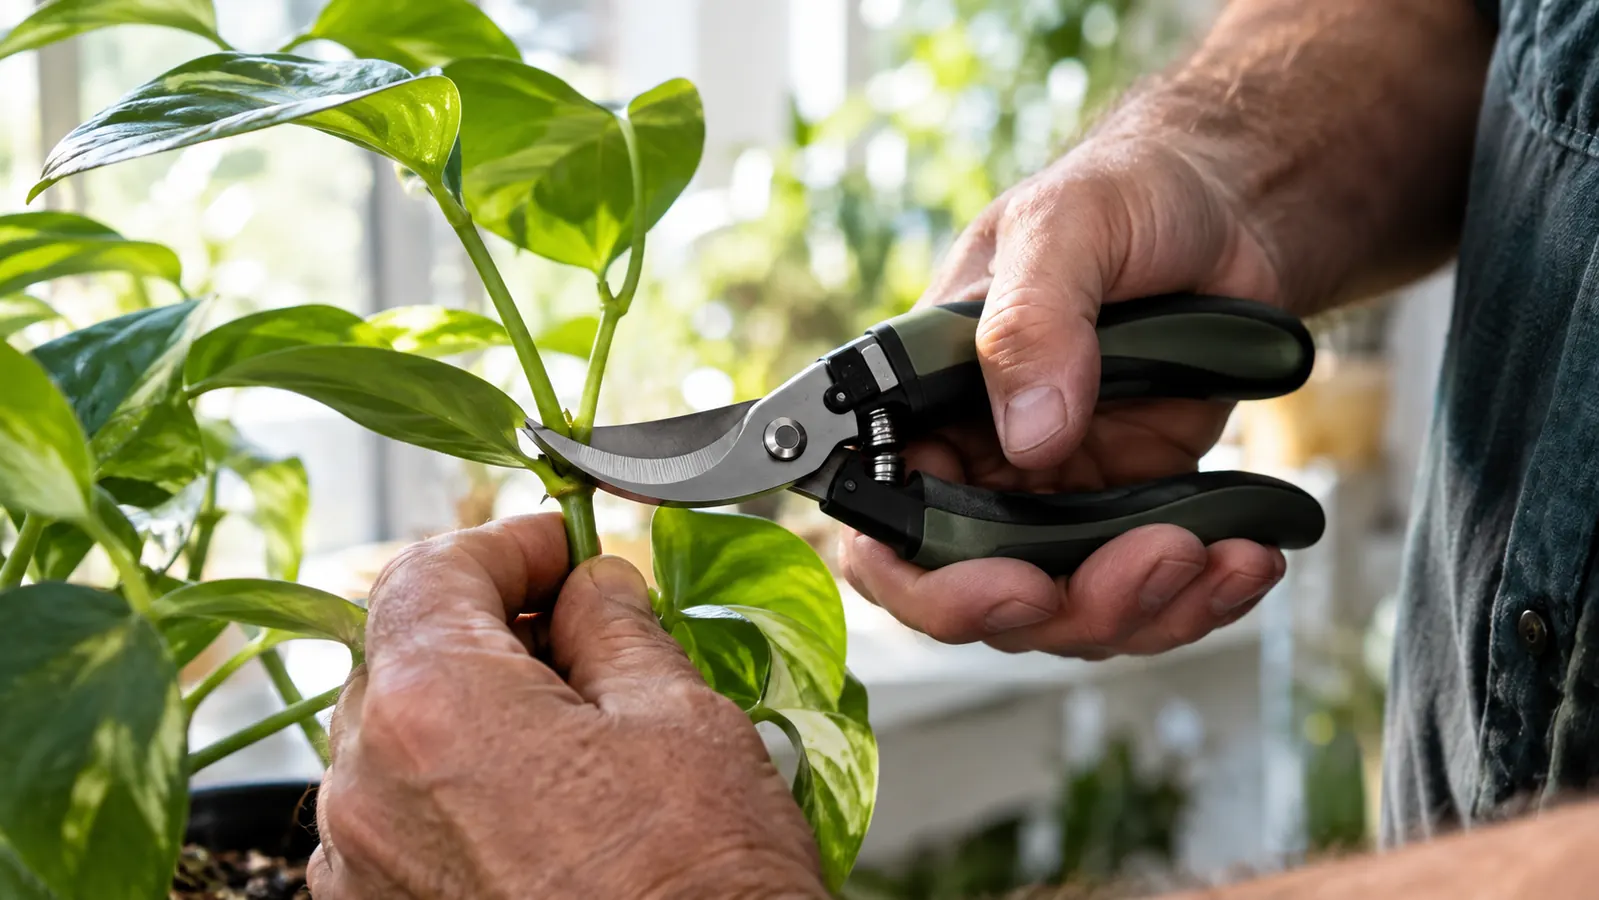
The VIVOSUN snips have curved blades, and that is the detail that matters most. A straight blade pushes the stem forward as you close it. A curved blade holds the stem in the curve and slices through it in one motion, the way a good kitchen knife works against a board. The titanium coating means sap does not glue the blades together the way it did on my old steel pair. At 6.5 inches they fit my hand without the handles digging in. I have used them on everything from soft trailing vines to the woody base of my fig, and I have never had to saw at anything.
I put off buying proper snips for a year and made do with kitchen scissors. They worked fine on soft stems and failed on anything woody. They crushed more than they cut, and the crushed edges turned brown within days. When I finally switched to the VIVOSUN pair, the difference showed up in the first cut. Clean slice, no squeeze, no browning at the cut. That is the whole job of a pruning tool, and it is the reason I stopped reaching for the kitchen drawer.
Step 3: Cut Above a Node, Not in the Middle of a Stem
The node is the little bump where a leaf or an aerial root attaches to the stem. It is where the plant keeps its dormant buds, and those buds are what regrow after a cut. The cut has to land about a quarter inch above a node, angled slightly so water runs off the wound instead of pooling on it. If you cut mid-stem where there is no node, you get a dead stub that just sits there. I learned this the slow way. My first attempt at pruning left three dead-looking stubs that never pushed a single leaf.
It took me a whole season to understand why the stubs stayed bare. The plant will not make a new branch out of nothing. It needs the node, and it needs the cut to be clean. This is where the snips earn their keep. A clean slice above a node heals fast. A crushed stem heals slow or not at all. When you are deciding where to cut, look for a node that faces the direction you want the new branch to grow. The new shoot comes out of the node, so the cut above it decides which way the plant fills in.
The angle matters more than people think. A flat cut leaves a little shelf that holds water. An angled cut sheds it. I aim for about 45 degrees, a quarter inch above the node, and I cut in one motion. If I have to saw back and forth, the blade is dull, and a dull blade is a sign to stop, clean, and think about whether this pair of snips is still doing its job.
Step 4: Cut the Bare Stems All the Way to the Base
Here is the part that feels wrong the first time. A stem that is bare except for the tip will not refill. The leaves at the end stay where they are, and the bare part stays bare. So you cut it back hard, down to just above the soil or to a low node with healthy growth. Last February I cut Gus back by about a third. I put the cut above a node near the base of the trunk and took off the whole stretched section. It looked brutal for three weeks. Then two new shoots appeared near the cut, and by June he looked better than he had in two years.
Do not do this to every stem on the same day if the plant is already struggling. For a plant that is otherwise healthy, you can cut everything back in one pass. For a plant that has been through a rough winter, take a third of the stems one week, another third a month later, and leave the rest until you see new growth. The roots stay in place either way, and that is what powers the regrowth. The plant does not need the long stems as much as it needs light reaching the base, where the new shoots come from.
The fear of cutting a plant back too hard is real, and I have felt it every time I pick up the snips. The math helps. A bare stem is not contributing anything. It is using light and water to keep a few leaves alive at the tip. Cutting it off redirects all of that to the base, where the plant can make something useful. The plant is not fragile. It wants to regrow. It just needs you to make the cut and then leave it alone.
Step 5: Put the Cuttings in Water and Give the Plant a Routine
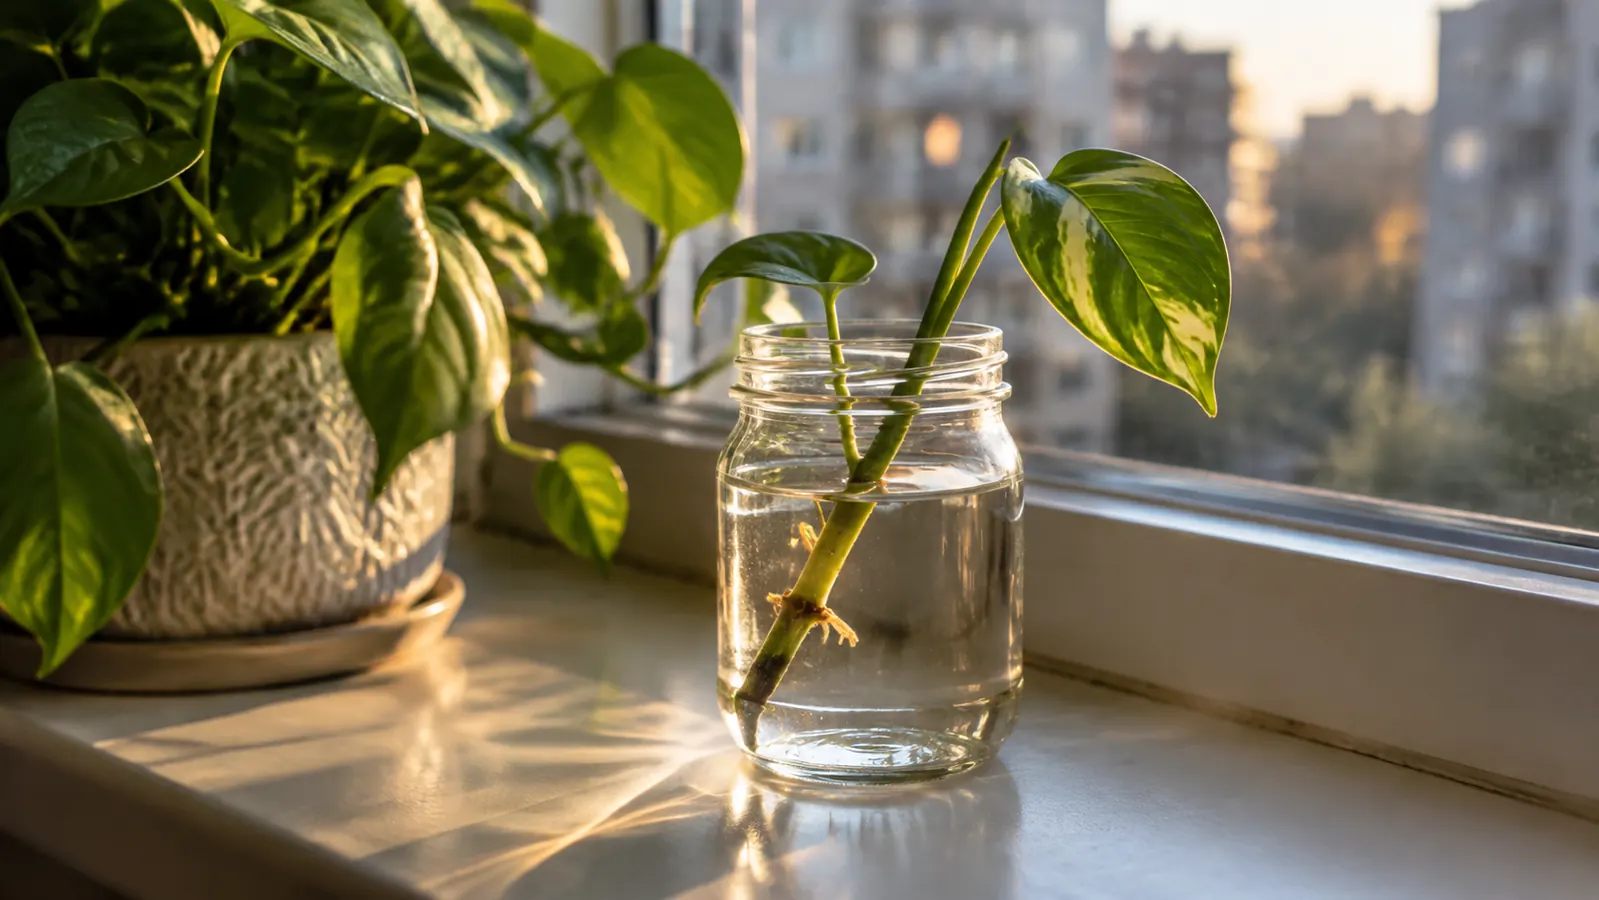
Do not throw the healthy tips away. A tip cutting with two or three leaves will usually root in a glass of water on a bright windowsill. I have a jam jar on the north windowsill with three cuttings from the same trailing plant, and two of them have roots after about four weeks. Change the water once a week, keep the jar out of direct afternoon sun, and wait for roots about an inch long before you pot them up. It is not a fast process. It is a free process, and it gives you a second plant out of a problem you were about to cut off and bin.
For the plant you pruned, the aftercare is boring on purpose. Water on your normal schedule. Mine is Sunday mornings, because I cook most weeknights and commute by bike, so a weekday watering round never actually happens. Do not fertilize for at least a month. The plant is regrowing roots and shoots, and fertilizer before that settles in can burn the fresh growth. Keep it in the brightest window you have and do not rotate the pot obsessively. Expect it to look worse for two or three weeks. The first sign it worked is a tiny green bump at a node. That bump is the plant telling you it is going to be fine.
Timing matters more than people expect. Late winter and early spring are the best months for a hard prune, because the plant is about to enter its growing season anyway. I did Gus in February. A prune in November would have meant a longer wait for new growth, and a longer wait is exactly when people panic and start watering too much. If you prune when the days are getting longer, the new shoots come faster and the plant spends less time looking like a stick.
What Else Helps
Pruning fixes the shape, but it does not fix the light, and the light is why the plant got leggy in the first place. I have one good east-facing window that gets direct sun until about 11 in the morning and one weak north-facing window that gets none. In winter I move the plants that matter closer to the east window, even when it means the living room looks crowded. The forced-air heat makes the apartment dry, which is why I run a small humidifier in the bedroom in January and February. It is a general-purpose humidifier, not a plant gadget. It just happens to sit near the plants. Grouping plants together also helps, and watering on a fixed day, Sunday for me, stops the overwatering that kills more houseplants than low light ever will.
One honest note about the tool. The VIVOSUN snips are garden scissors, not a plant-specific device, and that is fine. They cut stems, and stems are stems. I have also used them to trim dried flower stems and cut twine, and they still cut clean. What you do not need is a drawer full of specialized gadgets. You need one pair of snips that stays sharp, a bottle of rubbing alcohol, and the nerve to make the first cut.
I cut Gus back by a third last February, and by June he had two new shoots where there had been eight inches of bare stem.
Start With a Clean Cut and Snips That Actually Cut
The VIVOSUN curved pruner has sat in my watering basket for two winters, and it is the tool I reach for every time a stem gets out of hand. It cuts clean, it fits an apartment drawer, and it is honest about being a general-purpose garden tool. See today's price on Amazon and read the 24,000 plus reviews from other indoor plant keepers before you buy.
Amazon Check Today's Price on Amazon →